Contributing
Debugging
When debugging or reporting issues, turn on debug logging by adding this to your configuration.yaml
and restarting Home Assistant:
Then you can check for errors in System Logs and attach the logs when creating an issue.
If you would like to see a value added to the integration, check if it's available when you generate test data.
Contributing Test Data
Because the myVAILLANT API isn't documented, you can help the development of this library by contributing test data:
Go to Developer Tools Services and select mypyllant.generate_test_data.
Then call the service and copy the resulting output.

You can then either create a PR with the created folder, or zip it and attach it to an issue.
Contributing to the HA Component
Warning
You need at least Python 3.13 and uv installed
Fork and clone the mypyllant-component repository, then from within the directory run:
uv sync
uv tool install pre-commit --with pre-commit-uv
pre-commit install
# Make your changes
git commit -m ...  # Code formatting, analysis, and tests are run automatically before the commit
If you also need to modify the underlying myPyllant library,
clone & install it in editable mode in mypyllant-component:
# From within the mypyllant-component directory
git clone https://github.com/signalkraft/myPyllant.git ../myPyllant
uv pip install -e ../myPyllant
# Run with --no-sync, or uv will remove the local package again
uv run --no-sync pytest
VSCode Dev Container
There's also a VSCode dev container available in .devcontainer.json, provided
by github.com/ml1nk.
Testing in Docker
To test your changes, you can spin up a quick Docker environment:
- Follow the installation steps above
- Copy
.env.sampleto.envand add your credentials in the new file - Run
docker compose up
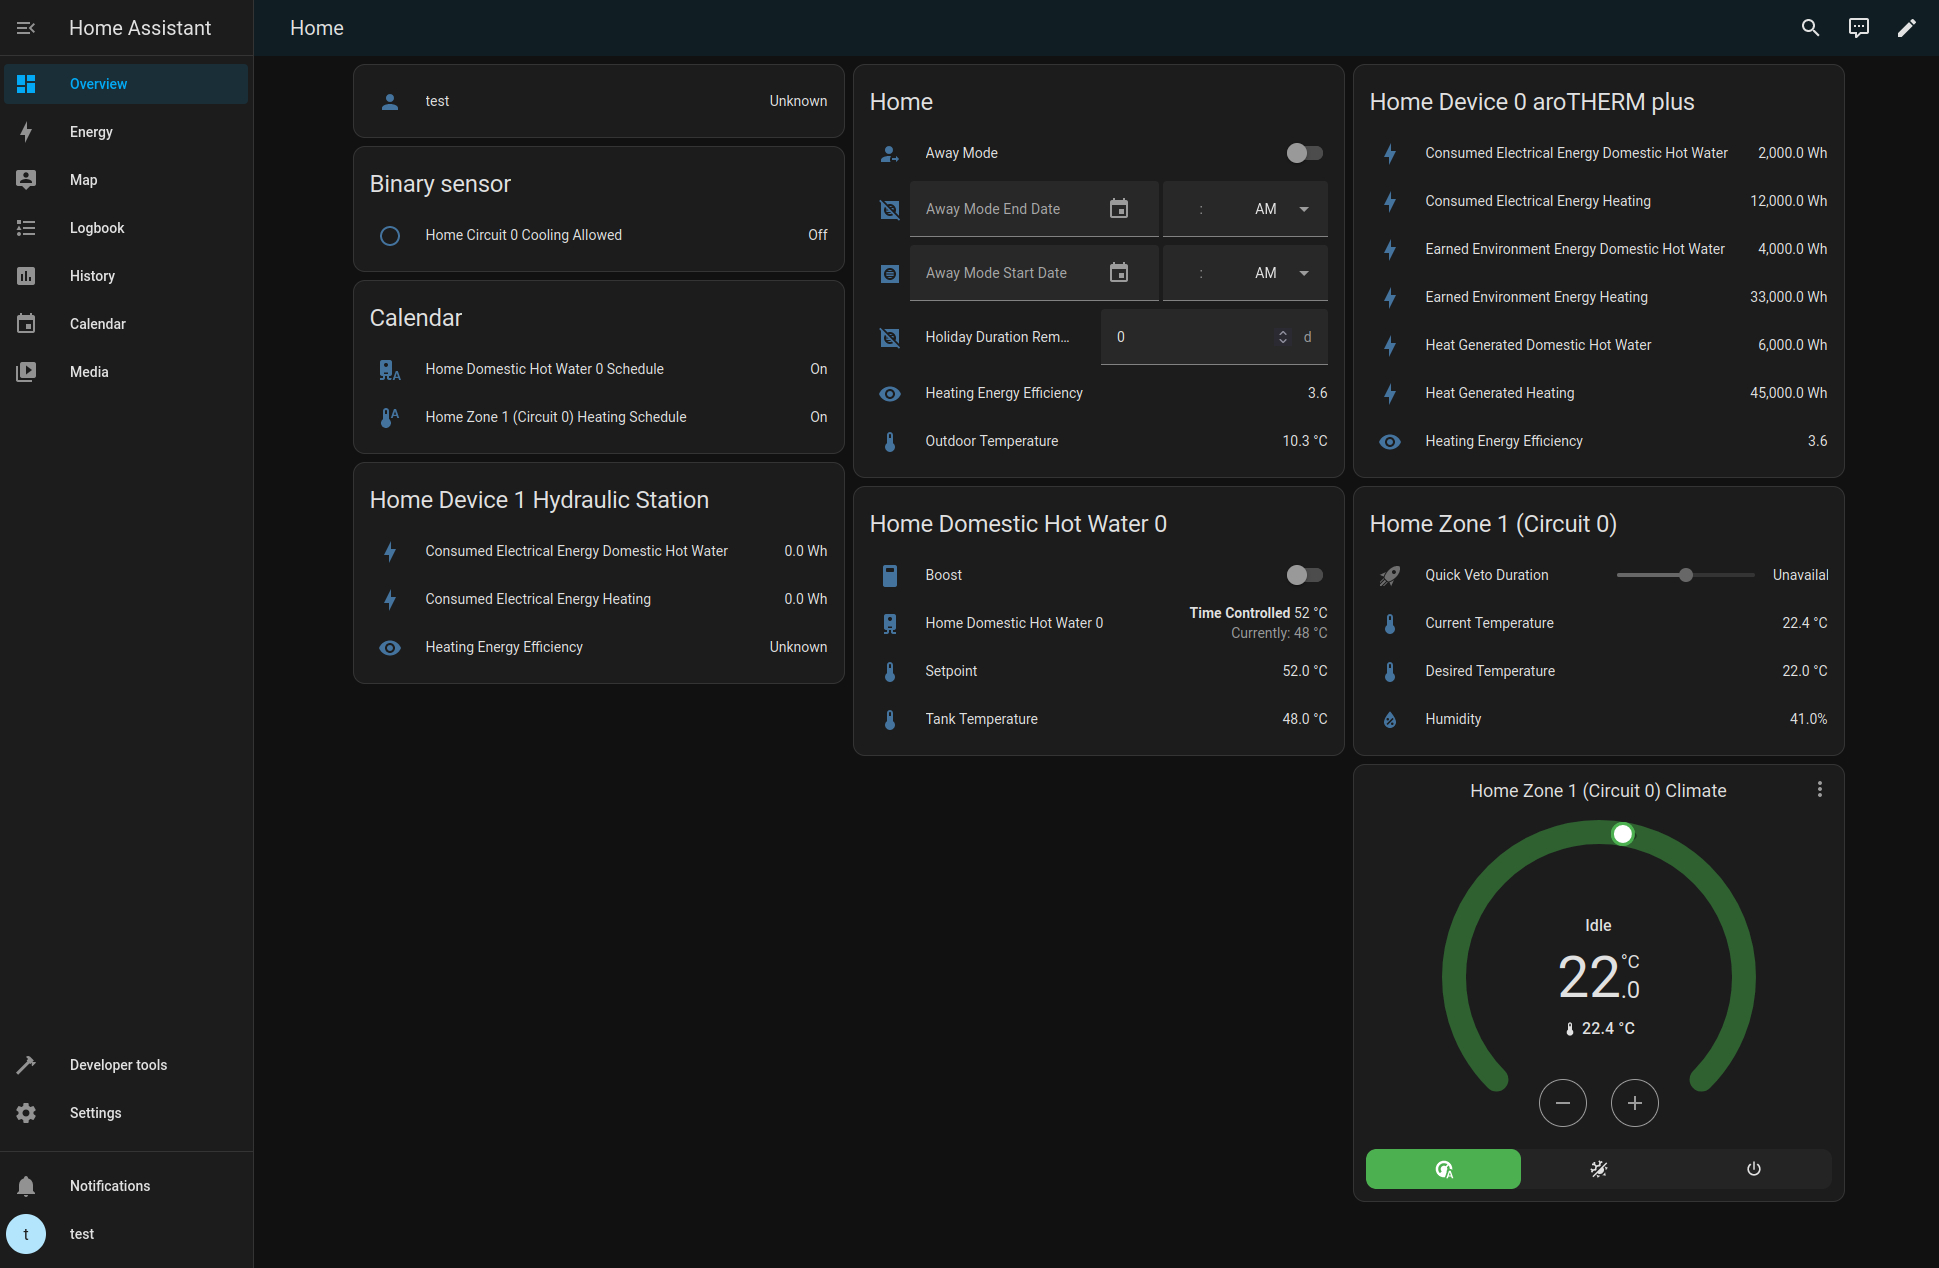
After HA started, open http://localhost:8123 in your browser and sign in with user test and
password test.
The integration should be configured and show entities on the default dashboard.
Updating Documentation
In the component repository, run:
Contributing to the underlying myPyllant library
Warning
You need at least Python 3.13 and uv installed
Fork and clone the myPyllant repository, then from within the directory run:
uv sync
uv tool install pre-commit --with pre-commit-uv
pre-commit install
# Make your changes
git commit -m ...  # Code formatting, analysis, and tests are run automatically before the commit
Supporting new Countries
The myVAILLANT app uses Keycloak and OIDC for authentication, with a realm for each country and brand.
To find the correct URL for a new country:
- Log out in the myVAILLANT app
- Open the login page in the app. If it directly logs you in without showing a login form, you may need to log out in your mobile browser. For Vaillant in Germany on https://myvaillantweb.de/
- Share the login URL in a new issue, but remove everything after
/auth - If you can't find the URL or an option to share, look for a way to open the page in your default browser and share from there
There is also a script to check which countries are supported, based on a list of all country names:
Copy the resulting dictionary into src/myPyllant/const.py
Source code in myPyllant/tests/find_countries.py
Adding new API endpoints
If your myVAILLANT app has more features than this integration, chances are you have a more complex system then me. You can reverse engineer the API endpoints and open an issue with the requests + responses. See Reverse Engineering for a tutorial.
Running commands on your Home Assistant installation in Docker
If you're using this component in a Home Assistant installation that uses docker compose, you can run these commands
directly (from the folder that contains your docker-compose.yml):
docker compose exec homeassistant python3 -m myPyllant.tests.generate_test_data username password brand --country country
# Note the output folder
docker compose cp homeassistant:<testdata folder> .
# Test data will be copied to your current directory
Acknowledgements
- Auth is loosely based on ioBroker.vaillant
- Most API endpoints are reverse-engineered from the myVaillant app, using mitmproxy
- Logo based on Hase Icons erstellt von Freepik - Flaticon & Ouroboros Icons erstellt von Freepik - Flaticon.